
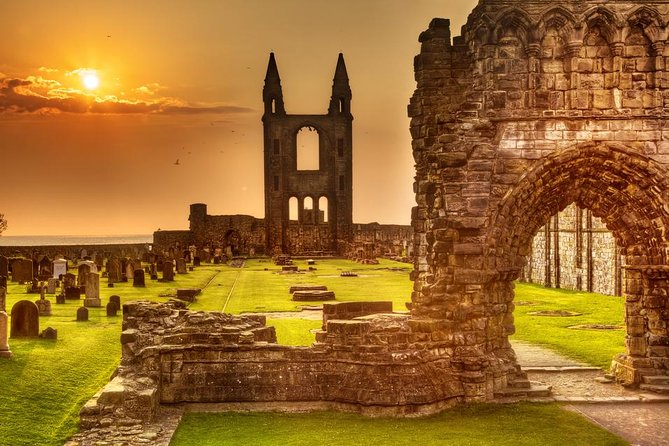
Reviewed · LOCH LOMOND AND TROSSACHS TOURS
Stirling Castle The Trossachs & Loch Lomond
Stirling Castle gives this private day out a strong opening, then the route shifts into the wooded Trossachs and along Loch Lomond. You get major sights, small villages, short walks, and a chance to see Highland cows without changing tours or keeping pace with a large group.
I like the private format for up to six people, since you can spend your day with your own group rather than a coach full of strangers. I also like the broad mix of stops, from royal rooms to a pier on Loch Lomond and a brief visit with cows called Hamish and Honey. The main drawback is the price: at $888.29 per group, it makes the most sense when six people share the cost.
Key points at a glance

- Stirling Castle comes first, with about 90 minutes to explore and admission charged separately.
- Callander and the Trossachs add smaller-scale scenery, including Bracklinn Falls Bridge and Callander Crags.
- Hamish and Honey are the local stars at Kilmahog Woollen Mill, where feeding them is optional.
- Loch Lomond appears twice in the day, at Balmaha and again from Luss Pier.
- The private group limit is six, a useful size for families or friends traveling together.
- The 8:30 am start and 6-to-8-hour length make this a full day without requiring an overnight stay.
Why this route works in one day

This tour packs together several parts of central Scotland that are often split across separate outings. You begin with one of Scotland’s great castles, move through Callander and the Trossachs, pass Aberfoyle, and finish beside Loch Lomond.
That variety is the main reason to consider it. You are not spending the whole day inside a castle or looking at one stretch of water. Instead, the route keeps changing character. One stop gives you history, another offers a village setting, and the final stops bring open views across Loch Lomond.
The 6-to-8-hour estimate matters. It is long enough to cover the route, but the schedule is still built around short visits rather than long hikes. If you want an easy overview of several Scottish sights from Glasgow, this format makes sense.
You should expect a fairly active sightseeing day, though the listed stops are brief. Stirling Castle receives the most time at 1 hour and 30 minutes. Callander, Balmaha, Kilmahog, and Luss each receive about 15 to 30 minutes, so you will need to keep an eye on the clock.
More Castle Tours in Glasgow
- Oban, Glencoe, Highlands Lochs & Castles Small Group Day Tour from Glasgow
★ 5.0 · 1,432 reviews - Stirling Castle, Loch Lomond and Cruise Day Tour from Glasgow
★ 5.0 · 566 reviews - Glasgow: Loch Lomond, the Trossachs and Stirling Castle
★ 4.5 · 343 reviews
Stirling Castle sets the tone
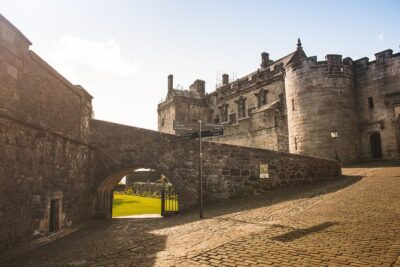
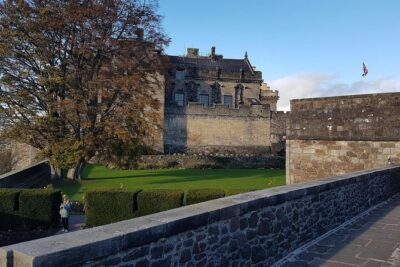
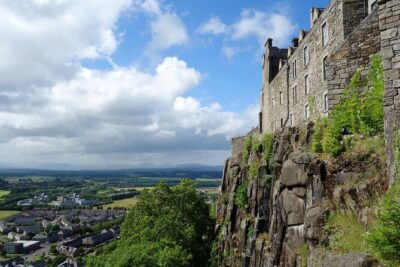
The first stop is Stirling Castle, one of the major historic sights in the area. You have around 90 minutes here, which gives you time to take in the castle grounds and its main features without turning the entire tour into a castle visit.
That time limit is both useful and limiting. You get a proper taste of the site, but not an unhurried day inside every room and exhibit. If Stirling Castle is your main reason for booking, you may want a separate visit with more time. If you want to see it as part of a wider day, 90 minutes is a practical allocation.
Admission is not included in the tour price, so add that cost before booking. This is one of the important details to settle in advance, especially if your group includes several people.
I would make the most of the stop by deciding what matters most to you before arrival. You will not have unlimited time to wander, so focus on the castle’s key areas rather than trying to see everything. The private setup may also make it easier for your group to organize the stop around your own interests, although the day still needs to follow its overall schedule.
Callander brings you into the Trossachs
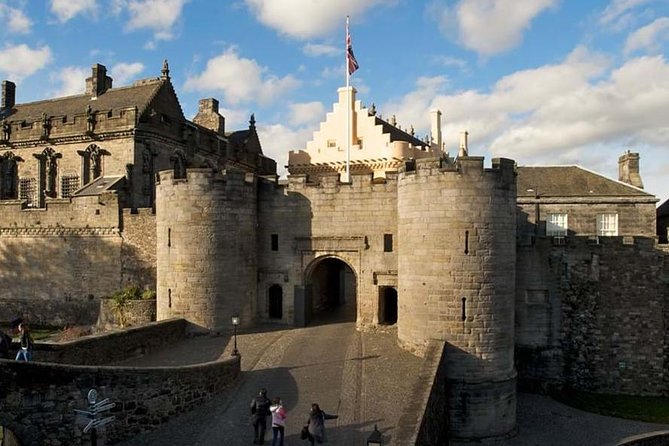
The next listed stop combines Callander with Bracklinn Falls Bridge and Callander Crags. You have about 30 minutes, so think of this as a short introduction to the village and its nearby scenery rather than a full walk through the area.
Callander is a useful change of pace after the castle. It gives you a look at a smaller Scottish community and a chance to stretch your legs. Bracklinn Falls Bridge and Callander Crags point toward the natural side of the route, with woodland and rocky surroundings replacing castle walls.
The short timing is the key practical point. Thirty minutes can be enough for a quick look, photographs, and a brief walk, but it is not enough for an extended hike. If you have limited mobility or prefer gentle sightseeing, ask about the exact walking conditions before setting out. The supplied details do not give a full accessibility description for each stop.
Admission is listed as not included, though this stop may mainly involve outdoor viewing. The important thing is to allow for any personal spending rather than assuming every activity or entry cost is covered by the group price.
Balmaha provides a short lunch stop

At Balmaha Millennium Forest Path, the stop includes a visit to The Oak for lunch. You have about 30 minutes here. That makes this a practical food break rather than a long meal with time for a relaxed walk.
The name Millennium Forest Path suggests a wooded setting, while Balmaha places you near Loch Lomond. Together, they give the middle of the tour a pleasant outdoor pause. You can eat, get your bearings, and take in the surroundings before continuing.
Thirty minutes is a tight lunch window. You will want to keep your meal simple and avoid treating this as a leisurely restaurant stop. The tour details do not say whether lunch is included, so plan to pay for your own food unless the operator tells you otherwise.
This is also one of the points where a private tour can be more comfortable than a large group outing. Your group of up to six can coordinate lunch more easily, though you still need to return on time. A late lunch could put pressure on the remaining stops, which include the Highland cows and Luss Pier.
Other days in the hills from Glasgow:
- Glasgow (Greenock) Shore Excursion: Stirling, Loch Lomond & The Highlands
★ 4.5 · 267 reviews - Stirling Castle, Loch Lomond Walk & Whisky Distillery Tour from Glasgow
★ 5.0 · 79 reviews - Loch Lomond National Park & Stirling Castle Full Day Tour
★ 5.0 · 68 reviews - Private Tour Loch Lomond Stirling and the Kelpies from Glasgow
★ 5.0 · 47 reviews
Hamish and Honey at Kilmahog
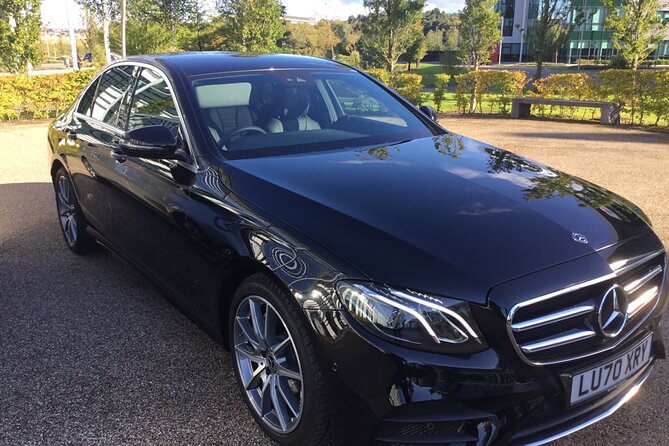
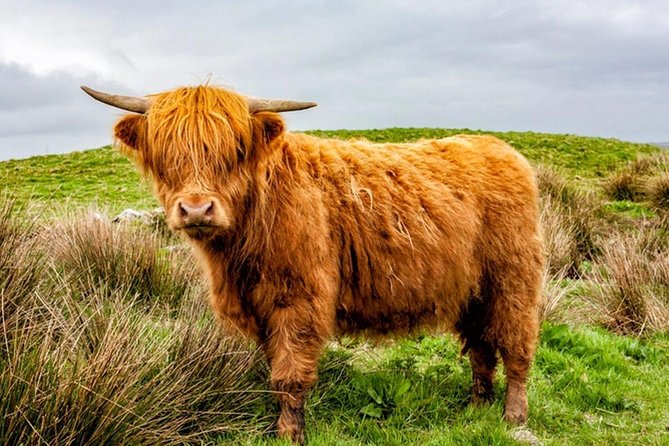
Kilmahog Woollen Mill adds one of the day’s most distinctive moments. You stop to see the Scottish Highland cattle Hamish and Honey, and you can feed them if you wish. The visit lasts about 15 minutes.
The short stop has a clear purpose: it is a quick, memorable encounter with two named Highland cows rather than a long farm visit. If you enjoy animals or are traveling with children, this may be one of the most anticipated parts of the day.
Feeding is optional, so you can simply look and take photographs if that suits you better. The tour information does not state whether feed is included, so ask before assuming you can purchase or use feed on site.
The stop is also a good reminder that this is not only a castle tour. Scotland’s appeal here comes from the mixture of grand historic sights, village stops, woodland areas, and everyday rural life. Just keep expectations in check. Fifteen minutes goes quickly.
Aberfoyle appears between the main stops
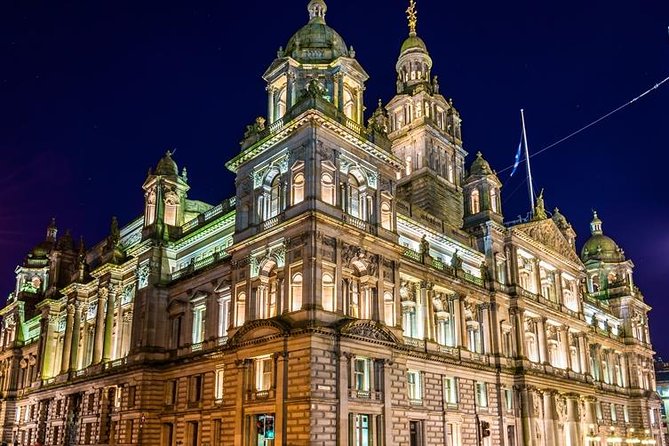
The route passes through Aberfoyle rather than listing it as a full stop. That means you should treat it as a scenic village pass-through, not time set aside for independent exploration.
This is useful context when planning your day. You will see more of the Trossachs region than the named stops alone suggest, but you will not necessarily have time to get out, shop, or walk around Aberfoyle.
Passing through a place can still help you understand how the day fits together. The route is not simply a direct run from Stirling to Loch Lomond. It uses the villages and roads of the Trossachs to connect the main attractions.
Luss Pier gives the day its Loch Lomond finish

The final listed stop is Luss Pier, where you have about 15 minutes to walk along the pier toward its end and look directly onto Loch Lomond. This is a short but well-chosen finish.
Luss is a village stop, and the pier gives you a clear viewpoint over the loch. The water and surrounding scenery provide a different kind of Scottish image from the castle and forest sections earlier in the day.
Do not expect a long lakeside visit. Fifteen minutes allows for a stroll to the end of the pier, a few photographs, and a quick look around. If you want a slow village visit or time by the water, this schedule may feel rushed.
Still, the stop works well as the final picture of the day. You have moved from royal Scotland to rural Scotland and then to the shore of Loch Lomond. The route gives you a broad sense of the region without asking you to commit to a separate multi-day trip.
The private group format changes the value
The quoted price is $888.29 per group of up to six. That sounds expensive for a day tour, but the calculation changes when the vehicle is filled. Divided among six people, the cost is about $148 per person, before admission fees, food, and any other personal spending.
For two people, the same price is roughly $444 each. For a family or group of friends, the private arrangement can be easier to justify. You are paying for a tour reserved only for your party, with pickup offered and no need to join a larger group.
The value depends on what you want from the day. If you prefer the lowest possible individual price, a shared coach tour may cost less. If you value privacy, a group of six, and a route that combines many places in one day, this option has a stronger case.
The provider is Glasgow Chauffeur Hire Ltd. The supplied details do not name the driver or promise a specific guide, so you should not book expecting a particular person. What is clear is that the tour is private and limited to your own group.
Timing, pickup, and practical planning
The stated start time is 8:30 am. Pickup is offered, but the supplied information does not give a specific pickup address or list every pickup area. Confirm the exact meeting arrangement when booking.
The tour lasts approximately 6 to 8 hours. That range allows for changes in traffic, time spent at stops, and the day’s overall pace. You should keep the day open rather than scheduling another fixed activity immediately afterward.
The route includes several outdoor stops. Bring clothing suitable for changeable Scottish weather, though the tour details do not promise any particular conditions. Comfortable shoes are sensible because you will walk at Stirling Castle, around Callander, at Balmaha, and along Luss Pier.
Admission tickets are not included. The listing marks admission as not included at Stirling Castle and at the other stops, so confirm exactly what requires payment before departure. Lunch at The Oak is also not stated as included.
Most people can participate, and service animals are allowed. The information does not provide detailed access notes for castle grounds, paths, bridges, or piers, so ask specific questions if anyone in your group has mobility needs.
Cancellation is free up to 24 hours before the start time for a full refund. Cancellations or changes made less than 24 hours before the experience are not accepted for a refund, and the cut-off uses local time.
Who will enjoy this Scottish day out
I would recommend this tour most strongly to a group of friends or family members who want a private day from Glasgow and can share the cost. It also suits people visiting Scotland for a short time who want to see several major sights without arranging separate transport.
It is a good fit if you want a mix of history, villages, countryside, animals, and Loch Lomond. The named Highland cows, Hamish and Honey, add a light and personal touch to a route that could otherwise feel heavy on castles and viewpoints.
You may want a different plan if you prefer long walks, slow meals, or deep visits at one site. The schedule favors breadth. You see many places, but most stops are short.
The tour also works best when your group agrees on priorities. If one person wants lots of time at Stirling Castle and another wants a long stop by Loch Lomond, the fixed schedule may require compromise. The private vehicle gives you your own group, but it does not turn a full route into an open-ended day.
Should you book this tour?
Book it if you want a private, wide-ranging day from Glasgow and can fill most or all of the six seats. Stirling Castle, Callander, the Trossachs, Highland cows, Balmaha, Aberfoyle, and Luss Pier give you a lot of Scotland in one outing.
Think twice if the price is being split between only one or two people, or if you want long walks and slow visits. The strongest reasons to choose this tour are its private format, its broad route, and the chance to finish beside Loch Lomond. Add admission fees and lunch to your budget, confirm pickup details, and go in ready for a busy day with short stops.
FAQ
Where does the tour start?
The tour is based in Glasgow, with pickup offered. The exact pickup arrangement should be confirmed when booking.
What time does the tour begin?
The stated start time is 8:30 am.
How long does the tour last?
The approximate duration is 6 to 8 hours.
How many people can join the private tour?
The price covers one group of up to six people.
Is this a shared group tour?
No. Only your own group participates in this private activity.
Is Stirling Castle admission included?
No. The admission ticket for Stirling Castle is not included in the tour price.
Is lunch included at Balmaha?
The tour includes a 30-minute lunch stop at The Oak, but the supplied details do not state that lunch is included.
Can I feed the Highland cows?
Feeding Hamish and Honey is optional. The supplied information does not state whether any feed charge is included.
Are service animals allowed?
Yes. Service animals are allowed.
What is the cancellation policy?
You can cancel at least 24 hours before the start time for a full refund. Cancellations or changes made less than 24 hours before the start time are not accepted for a refund.
More Stirling and battlefield tours from Glasgow
- Stirling Castle & Loch Day Tour
★ 4.5 · 24 reviews - Stirling Castle, Trossachs and Loch Lomond Shore Excursion
★ 4.0 · 23 reviews - Stirling Castle, Trossachs, Loch Lomond and Whisky Tour
★ 4.0 · 13 reviews - Bannockburn & Stirling Castle Private Tour from Greater Glasgow
★ 5.0 · 12 reviews
Just added around Glasgow
- Ultimate Day tour Edinburgh: Glencoe, Highland Cows, Loch Lomond★ 5.0 · 10 reviews
- West of Scotland Cultural Tour★ 5.0 · 7 reviews
- The Braveheart tour from Glasgow or Edinburgh★ 5.0 · 6 reviews
- Shore Excursion to Loch Lomond & Stirling Castle★ 5.0 · 10 reviews
- Private Tour of Glasgow Distilleries and a Loch Lomond Cruise★ 5.0 · 13 reviews
- Loch Ness and the Scottish Highlands from Glasgow or Edinburgh★ 5.0 · 10 reviews
- The Ghost of Mary Queen of Scots Escape Room★ 5.0 · 24 reviews
- Magicians Heist Private Escape Room in Glasgow★ 5.0 · 23 reviews
Loch Lomond and Trossachs Tours, compared.
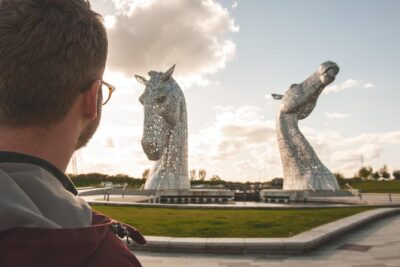
Loch Lomond, Kelpies & Stirling Castle Tour Including Admission
Read our review →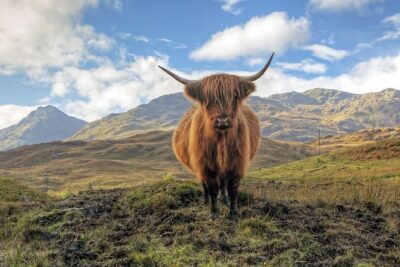
Loch Lomond, Stirling Castle and the Kelpies Day Tour
Read our review →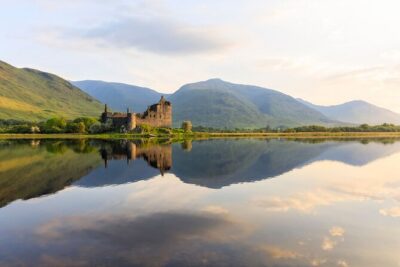
1 Day Castles, West Highlands and Loch Lomond Tour from Edinburgh
Read our review →
Stirling Castle, Loch Lomond and Cruise Day Tour from Glasgow
Read our review →
Stirling Castle, Kelpies and Loch Lomond from Edinburgh
Read our review →Browse the lists this tour appears in